How to Create an ASP.Net Core Project with React JS
This post will show how to create an ASP.Net Core Project with React JS.
Please be reminded that you will need to have .Net Core 2.0 and up to be able to have the template to create a project with React.
To begin with, open up you Visual Studio, then create a new project and select ASP.Net Core Web Application

Set the Project Name, Solution Name and the Location of the Project then click on Create.

After clicking Create, Make sure that you selected .Net Core version 2.0 and above. I will select .Net Core 3.1 since this is the latest version that I have.
Select React.js on the list of templates available and click Create.

Now that the project has been created, let’s dive on to some of the the following files:
- Components Folder: this folder contains your React Components

- App.js: This files contains the route for your react components

- index.js: This file renders your React Components to the web page

Now that we have some understanding on some of the files, we are now ready to run the project.
If this is the first time that you will run the project, you will see that the project will run npm command to restore dependencies from the cloud.

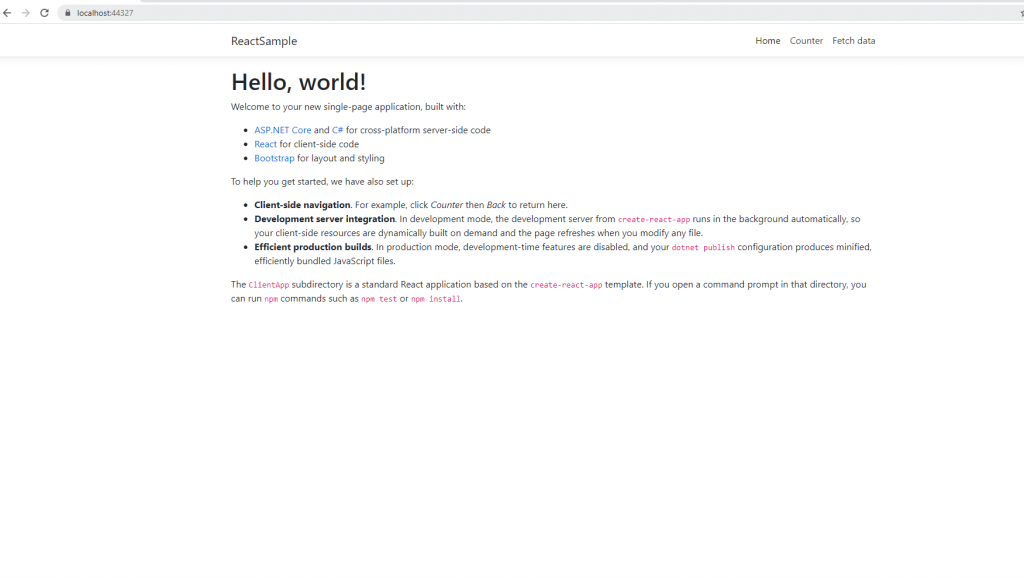
After restoring is done, a web browser will open. We have just created a new ASP.Net Core Project with React.

On the next blog we will discuss how we can add additional components to our React Application.