How to Create a new React SharePoint Framework (SPFX) WebPart
In this article, we will be discussing on how to create a React SharePoint WebPart using SPFX.
Setting up your environment
First thing you will need is to setup your environment, you will be needing to install the following:
- Node.js v8.x and Node.js v10.x
- This are the versions supported for creating an SPFX project
- Install Yeoman and Gulp
- After installing node.js, you will now install Yeoman and Gulp using npm command
- You will need to execute the following command using command prompt npm install -g yo gulp
- Install Yeoman SharePoint Generator
- To install the generator, execute the following command: npm install -g yo gulp
Creating a new WebPart
To create a new WebPart, you will need to create a new folder. After creating a folder, open it using Visual Studio code.
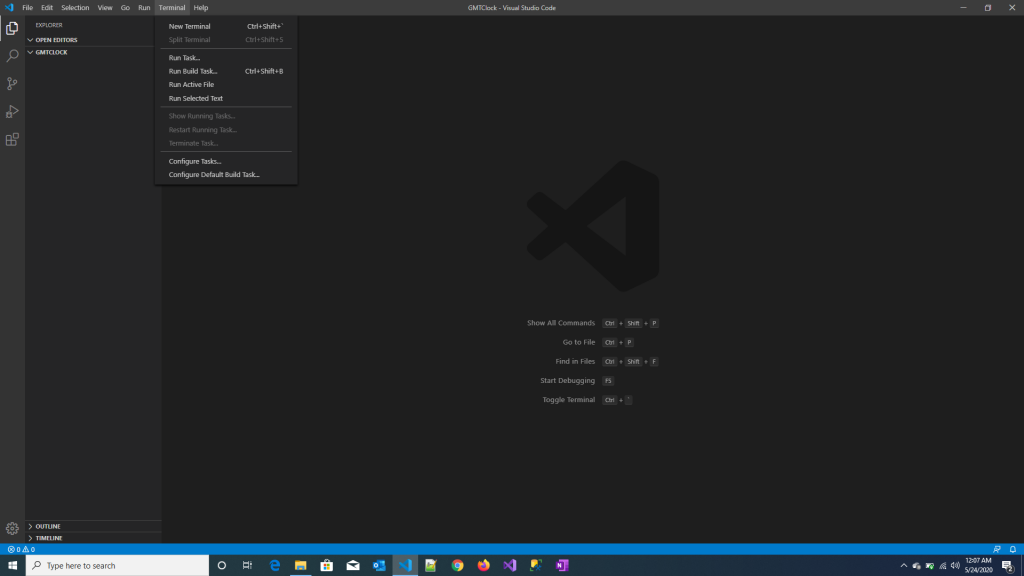
After opening the folder, go to Terminal on the menu and select “New Terminal”.
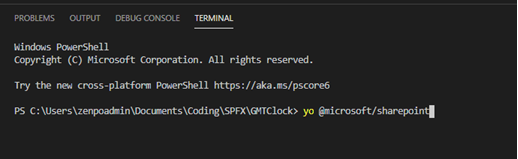
Execute the following command on the terminal:
yo @microsoft/sharepoint
After executing the command, you will be asked some information to setup your WebPart.
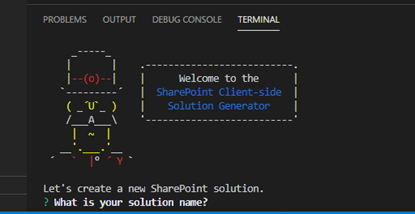
Set the name of your solution.

Select your target SharePoint Environment, for me I will be choosing “SharePoint 2019 onwards, including SharePoint Online” so that my WebPart will be available for both SharePoint on premise and online.

For this option, select “Use the current folder” if you want to place all the SPFX files on the folder.

Select “Y” if you want that there will be no additional apps on the sites.

Select “WebPart” on the choices.

Give your WebPart a name

Set the description of your WebPart
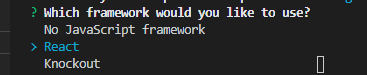
Select React as the framework to use on the WebPart.
After the setup is done, run “gulp trust-dev-cert” to install developer certificate. This should be installed once. After installing the certificate, “gulp serve” to preview the WebPart that you created.